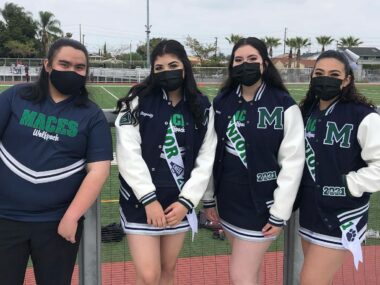
Ordering varsity jackets for a small team sounds simple until you start collecting sizes and design details. One person changes their size. Another person fixes the spelling on their name. Then the deadline gets tight. Use this checklist to keep your order clean and avoid delays.
If you want to start designing right now, use the builder: design your own varsity jacket. If you already know what you want and need pricing, use custom letterman jackets.
Small team varsity jacket order checklist
Use this list before you place your order. It is built for small groups like clubs, school teams, staff groups, and friend groups.
- Pick the jacket type (wool and leather, satin, fleece, or cotton twill).
- Choose your colors (body, sleeves, rib knit, snaps).
- Decide what goes on the jacket (logo, letter, names, numbers).
- Collect sizes the right way (no guessing).
- Confirm placement (left chest, sleeve, back).
- Approve the mockup (spelling, alignment, color match).
- Lock the timeline (approval date, production, shipping).
Want to browse styles first? Start here: varsity jackets.

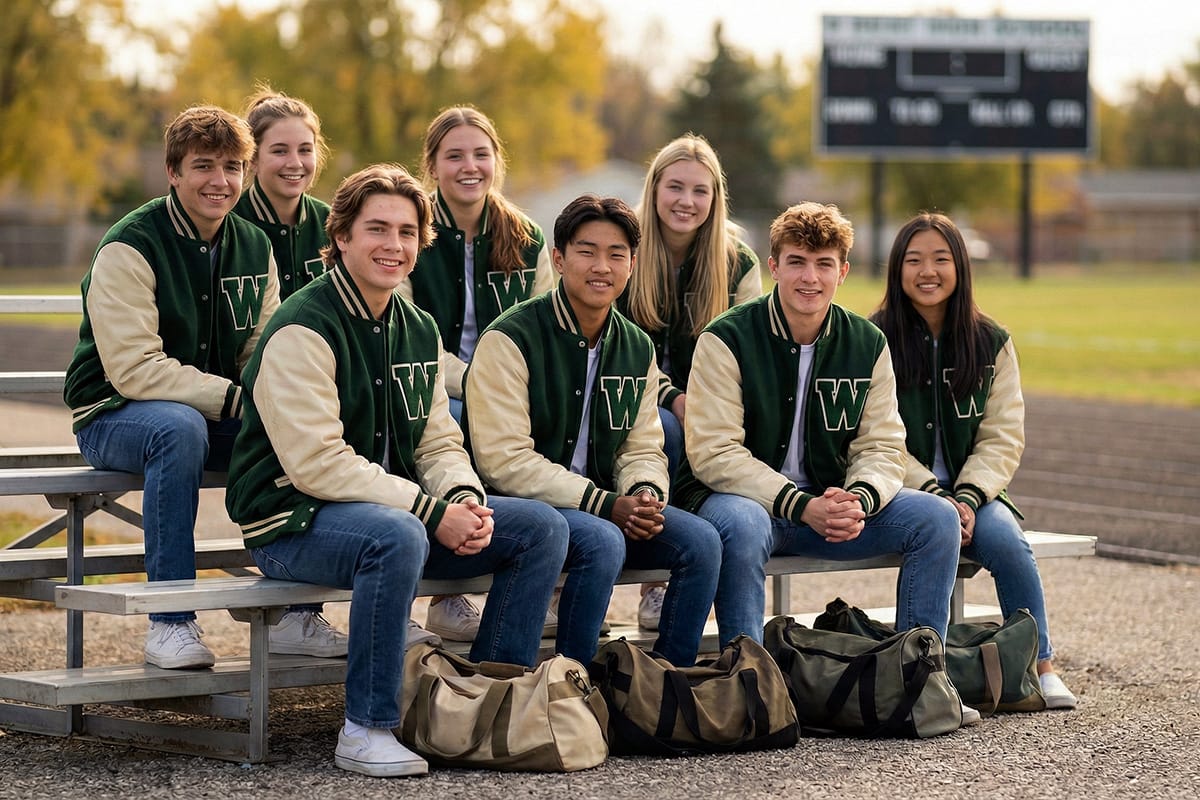
1) Choose the right jacket style for your group
Small teams do best with one base style that looks good on different body types. These are the easiest options to match as a set:
- Wool body with leather sleeves: the classic varsity look.
- Satin varsity jackets: lighter feel, smooth finish, great for clubs.
- Fleece varsity jackets: soft and warm for daily wear.
- Cotton twill: clean look and easy comfort.
If you are stuck between materials, compare options here: materials and colors.
2) Pick colors that look clean as a set
Keep your color plan simple. Two main colors and one accent color usually looks best.
- Body color: black, navy, maroon, gray, or royal blue.
- Sleeves: cream, white, black, or a matching body color.
- Rib knit stripes: match the sleeves, then add one stripe color.
Tip: If your group cannot agree on colors, pick one base setup and keep it the same for everyone. You can still personalize names and numbers.
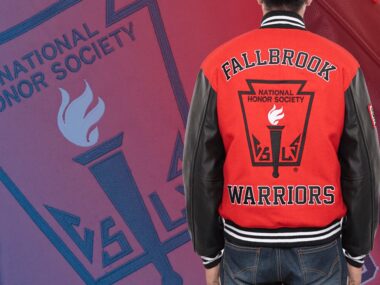
3) Decide patches, embroidery, names, and numbers
Most small teams need one bold detail and one or two small details. That keeps the jacket readable and not busy.
Common layouts that work:
- Left chest: chenille letter or embroidered logo.
- Sleeve: small patch, year, or role like Captain or Coach.
- Back: name, number, or both.
To see decoration types side by side, visit patches and embroidery.
4) Collect sizes the right way
Size errors cause most returns and delays. Fix this with one rule: measure a jacket that already fits.
Use the size guide and collect these details from each person:
- Size (XS to 6XL)
- Fit choice: classic fit or relaxed fit
- Layering note: over a hoodie or over a t-shirt
Fast method: Ask everyone to measure one jacket they own that fits well. Then compare measurements to the size guide instead of guessing.
5) Approve the mockup with a real quality check
Before you approve the design, check these items carefully:
- Spelling: names, year, and any text.
- Alignment: left chest placement and sleeve patch position.
- Patch size: make sure it fits the panel cleanly.
- Color match: body, sleeves, rib knit stripes, and thread colors.
Simple placement guide:
- Left chest patch: 3.5 to 5 inches wide
- Sleeve patch: 3 to 4 inches tall
- Back name: 10 to 14 inches wide (depends on jacket size)
- Back number: 8 to 12 inches tall
6) Set a timeline you can hit
Small teams often order close to an event. That is when mistakes happen. Lock sizes first, then colors, then the final mockup.
These items slow orders down:
- Waiting on sizes
- Changing names or numbers late
- Switching colors after approval
- Sending new logo files in many versions
If you are ready to move forward, start here: customize your jacket.

7) Final check before you place the order
- All names and numbers are final
- All sizes are confirmed with fit notes
- Colors are approved (body, sleeves, rib knit)
- Decorations are listed with placement
- Shipping address and deadline are confirmed
One simple way to avoid confusion: Keep the base jacket the same for everyone, then personalize names and numbers.
Common mistakes small teams should avoid
- Guessing sizes: use measurements and the size guide.
- Too many design elements: keep the jacket easy to read.
- Changing colors late: it triggers a new approval cycle.
- Mixing patch styles: choose one main style and stay consistent.
FAQ
What is the easiest varsity jacket setup for a small team?
Use one jacket style for everyone, two main colors, and one main chest detail. Add names or numbers on the back if you want personalization.
How do we pick the right sizes for everyone?
Use the size guide and ask each person to measure a jacket that fits well. Also collect layering notes.
Can we add names and numbers on the back?
Yes. Names and numbers are common for small teams. You can review options on patches and embroidery.
Where do we start the design?
Start with the builder here: design your own varsity jacket.